
(Proper) Decal Application
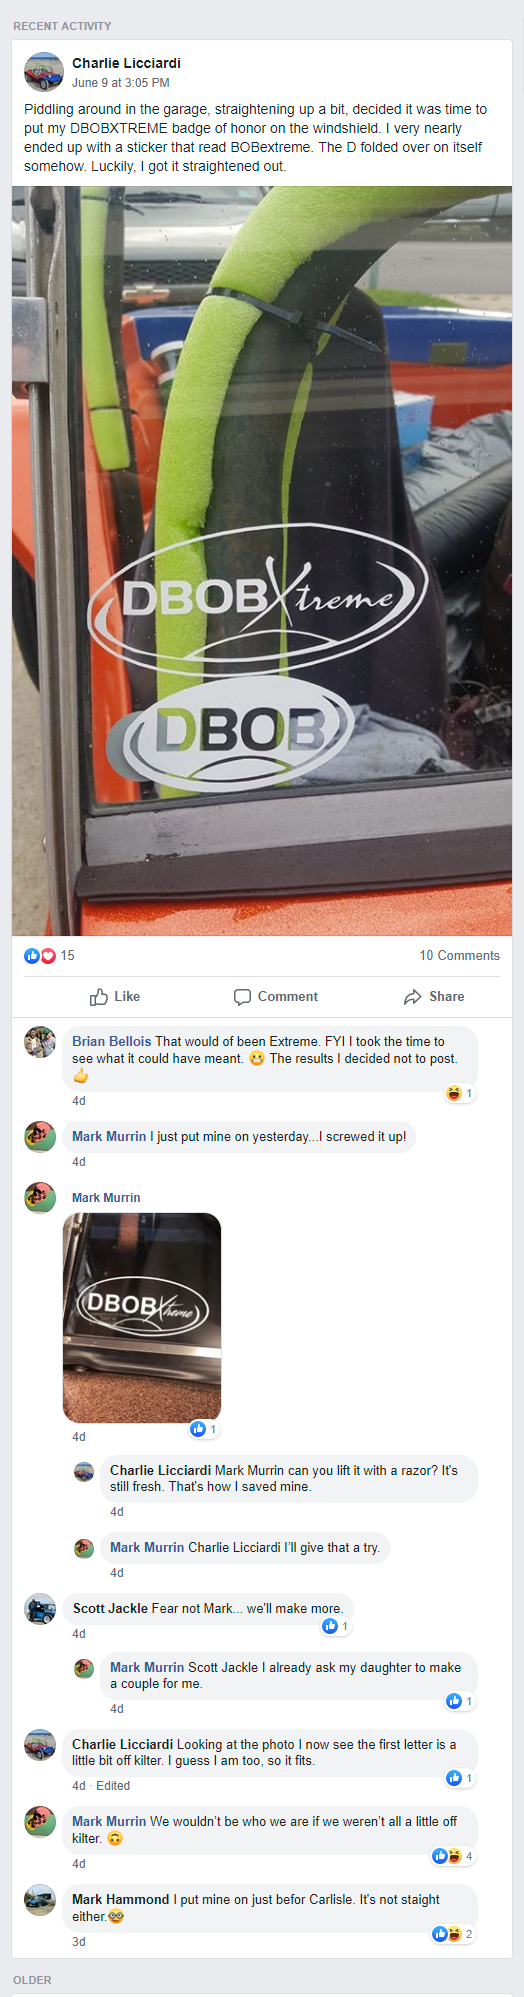
Is your cherished DBOBX decal giving you trouble, by refusing to lay flat on your glass? Are you challenged when it comes to properly applying any decal to another surface? It appears that some of you (recent Facebook post; see image to the right) could use some helpful tips on applying your "Badge of Honor" decals to windshields, windows, etc. I'm here to assist, and at no charge!
In the spirit of no buggy with a crooked decal, I would like to offer up some basic advice in the fine art of decal application. To some, the information below may be old news, but for others (once again, see the image to the right; very sad!), this all may be a true/true awakening. Those that consider themselves to be off kilter may want to get a few on kilter third parties involved. (Im the first party in this cluster-you-know-what; you as the reader are the second party. Deal with it.)
We are all adults here (well, at least most of us are), so the instructions below are written with the assumption that someone with at least average intelligence (or, hopefully better) will be attempting (or at least supervising) this venture. If you need to do so, gang up together; sometimes several heads are better than one. But only sometimes.
Before we begin, make sure you are aware of which side of the glass your decal needs to be applied (very, very important!). Check with the seller/giver/manufacturer if needed. Also, (and this is also extremely important), please read ALL of the directions below before starting. Beware of trapped bubbles and tiny wrinkles!
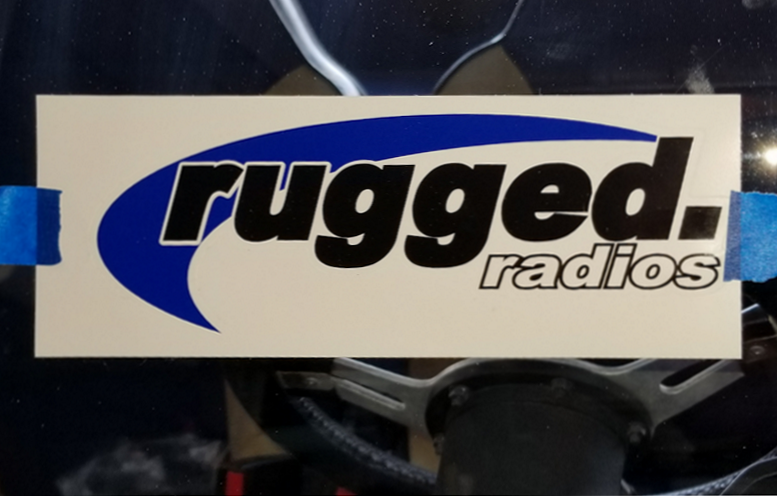
Just for demonstration purposes ONLY, I am temporarily mounting a vinyl decal just in front of my steering wheel. DBOBXers; do not use this location when permanently mounting your decal; you will not have proper vision of the road and/or obstacles that may be in front of you!
At times, my decal placement** may appear to be "off kilter"; actually I took some of these photos at an angle slightly off to one side (ie, not directly straight-on), so that the flash would not reflect directly off of the surface. Please make visual/mental adjustments, if needed.**
Step One make sure that the windshield/surface area is clean (and dry). We certainly don't want to trap any OBX sand behind the decal; just think how squished and lonely those granules would be from this point forward!
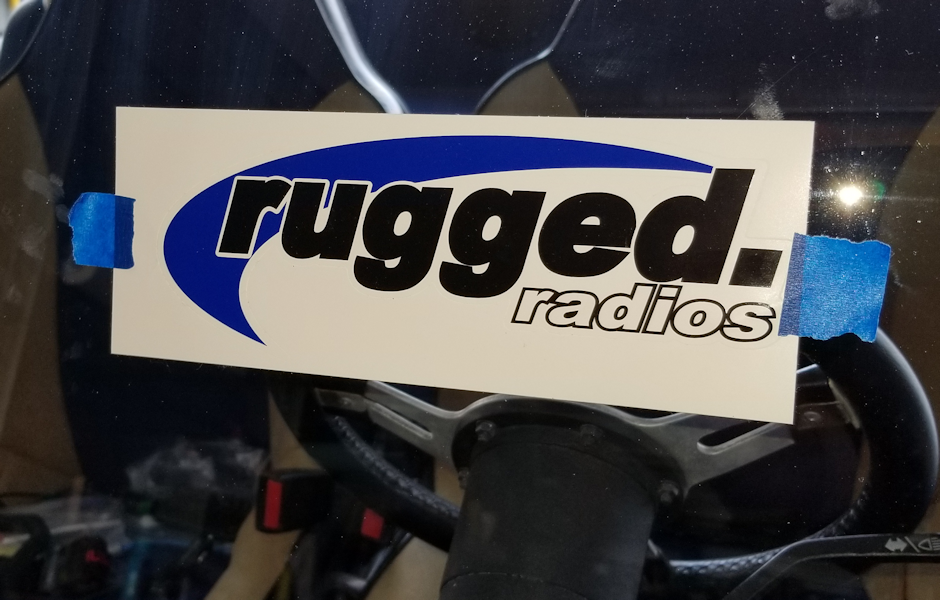
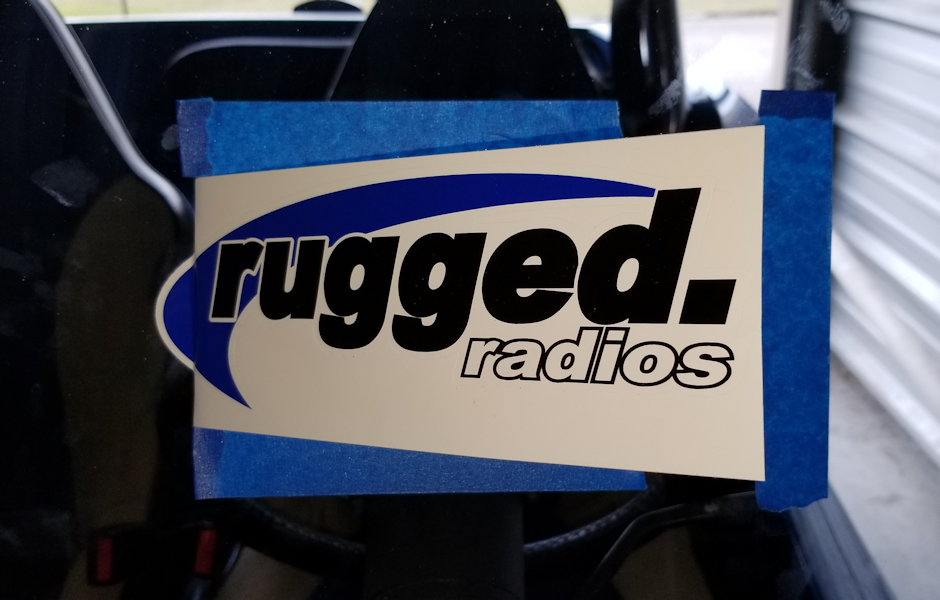
Step Two (a) decide before application EXACTLY where you want the decal to be applied. Temporarily tape the (unmounted) decal to the desired location, step back, and check it out from a distance (Photo 2). Are you happy with the placement? Is it level? Get second opinions, if needed.
In the spirit of no buggy with a crooked decal, I would like to offer up some basic advice in the fine art of decal application. To some, the information below may be old news, but for others (once again, see the image to the right; very sad!), this all may be a true/true awakening. Those that consider themselves to be off kilter may want to get a few on kilter third parties involved. (Im the first party in this cluster-you-know-what; you as the reader are the second party. Deal with it.)
We are all adults here (well, at least most of us are), so the instructions below are written with the assumption that someone with at least average intelligence (or, hopefully better) will be attempting (or at least supervising) this venture. If you need to do so, gang up together; sometimes several heads are better than one. But only sometimes.
Before we begin, make sure you are aware of which side of the glass your decal needs to be applied (very, very important!). Check with the seller/giver/manufacturer if needed. Also, (and this is also extremely important), please read ALL of the directions below before starting. Beware of trapped bubbles and tiny wrinkles!
Just for demonstration purposes ONLY, I am temporarily mounting a vinyl decal just in front of my steering wheel. DBOBXers; do not use this location when permanently mounting your decal; you will not have proper vision of the road and/or obstacles that may be in front of you!
At times, my decal placement** may appear to be "off kilter"; actually I took some of these photos at an angle slightly off to one side (ie, not directly straight-on), so that the flash would not reflect directly off of the surface. Please make visual/mental adjustments, if needed.**
Step One make sure that the windshield/surface area is clean (and dry). We certainly don't want to trap any OBX sand behind the decal; just think how squished and lonely those granules would be from this point forward!
Step Two (a) decide before application EXACTLY where you want the decal to be applied. Temporarily tape the (unmounted) decal to the desired location, step back, and check it out from a distance (Photo 2). Are you happy with the placement? Is it level? Get second opinions, if needed.
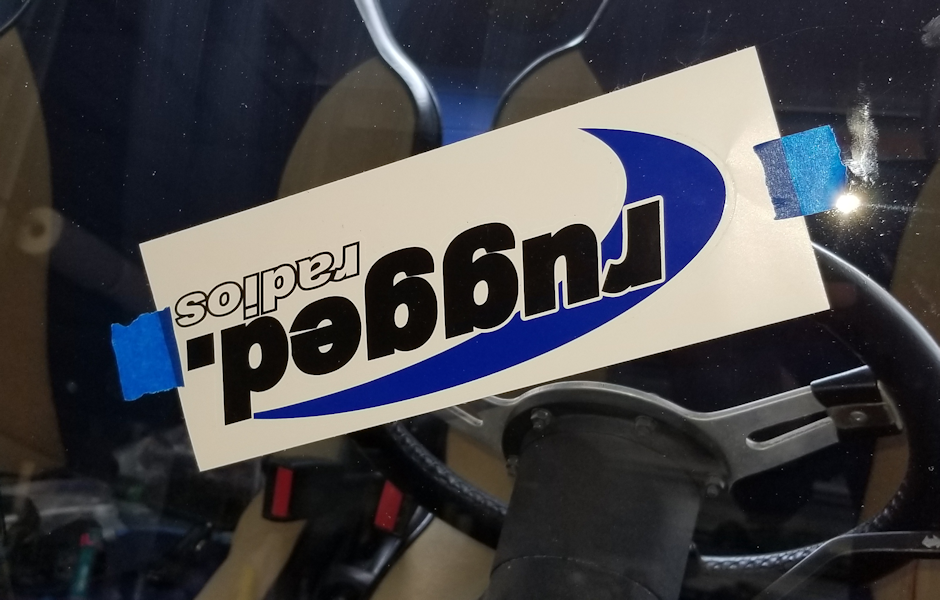
Photo 1 - Personally, I would not consider this to be proper placement.
Photo 2 - Now we're getting somewhere; much better.**
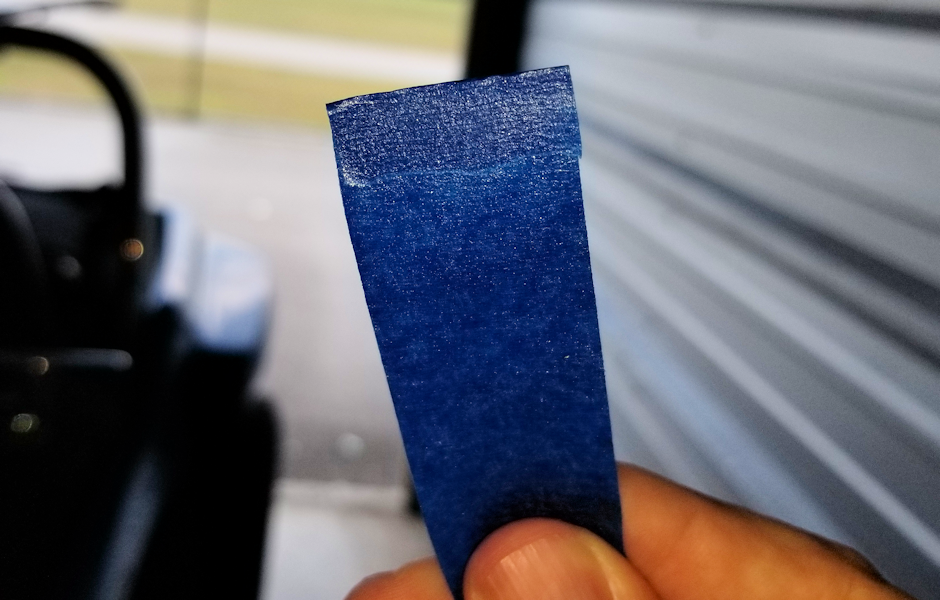
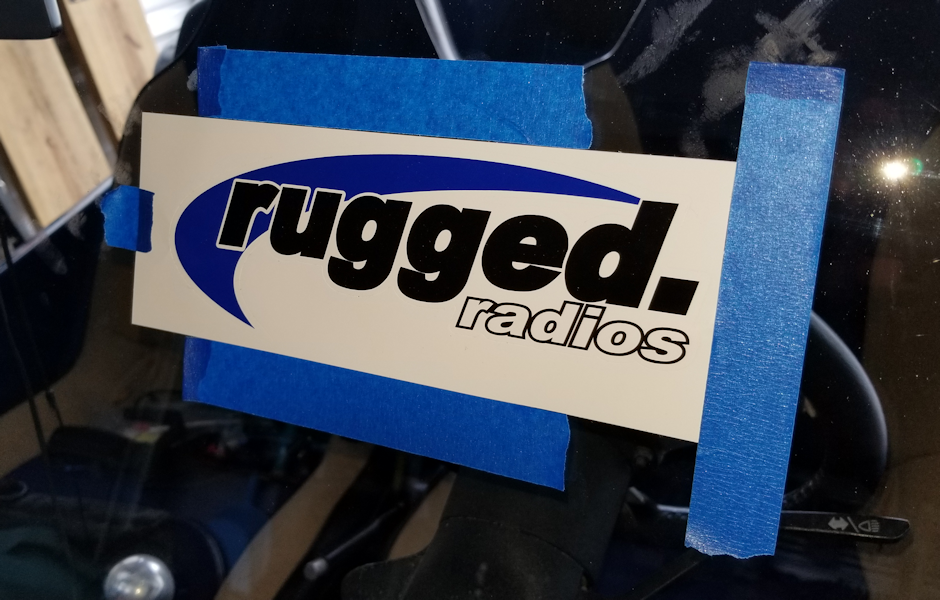
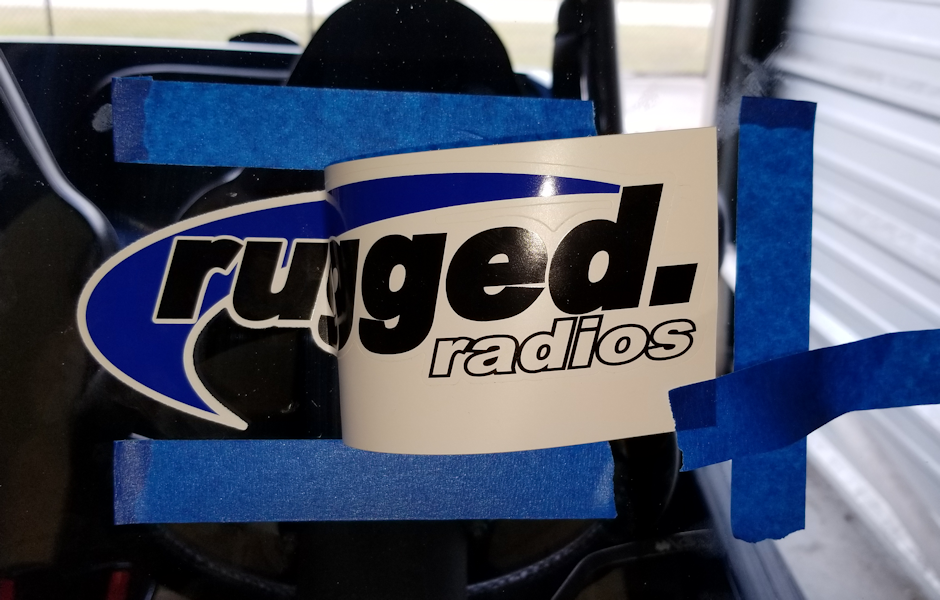
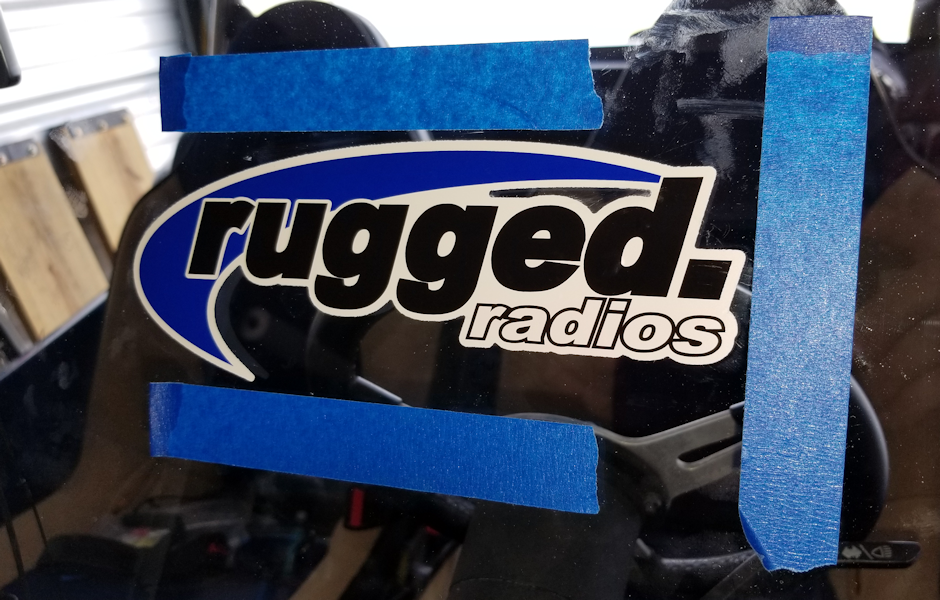
Step Two (b) - Once you are satisfied, the use of reference tape to help frame the decal's final location is a highly desirable option (Photo 3). Hot tip; I find it very helpful to fold over one end of my reference tape; this makes later removal much easier (Photo 4). Come on now, admit it; aren't you already happy as hell that you stumbled across this extermely-helpful webpage?
Photo 4 - End folded over for easy removal; yeah!
Photo 3 - Reference tape has been applied; edges of tape mesh up with edges of decal backing.
Step Three Now here is where ANOTHER extremely hot tip comes in. Peel back just a section of the backing, and fold it back; thereby exposing a small portion of the back side of the decal (Photo 5, the sticky surface; duh!). This is so damn cool!
Step Four GENTLY apply your precious decal to the glass surface, also while keeping in mind your reference tape and/or leveling tape. DO NOT permanently rub this applied surface down at this time (Photo 6); that way you can step back (yes, once again if needed) to see if you are satisfied with its placement. Guess what? If you dont like the location at this stage, you can still GENTLY peel it off and relocate (dont forget to step back and check it out again from a distance), as needed.
Step Four GENTLY apply your precious decal to the glass surface, also while keeping in mind your reference tape and/or leveling tape. DO NOT permanently rub this applied surface down at this time (Photo 6); that way you can step back (yes, once again if needed) to see if you are satisfied with its placement. Guess what? If you dont like the location at this stage, you can still GENTLY peel it off and relocate (dont forget to step back and check it out again from a distance), as needed.
Photo 5 - Backing surface folded back, sticky surface is now exposed to the elements for use.
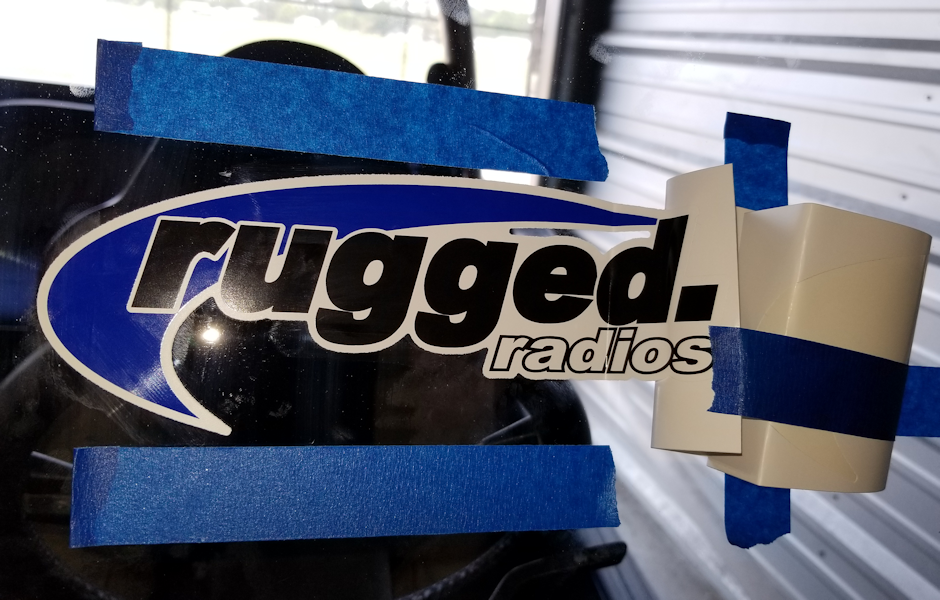
Photo 6 - Sticky edge has been gently adhered to the glass; the rest of the decal (and backing) has lifted away from the surface (this is normal).
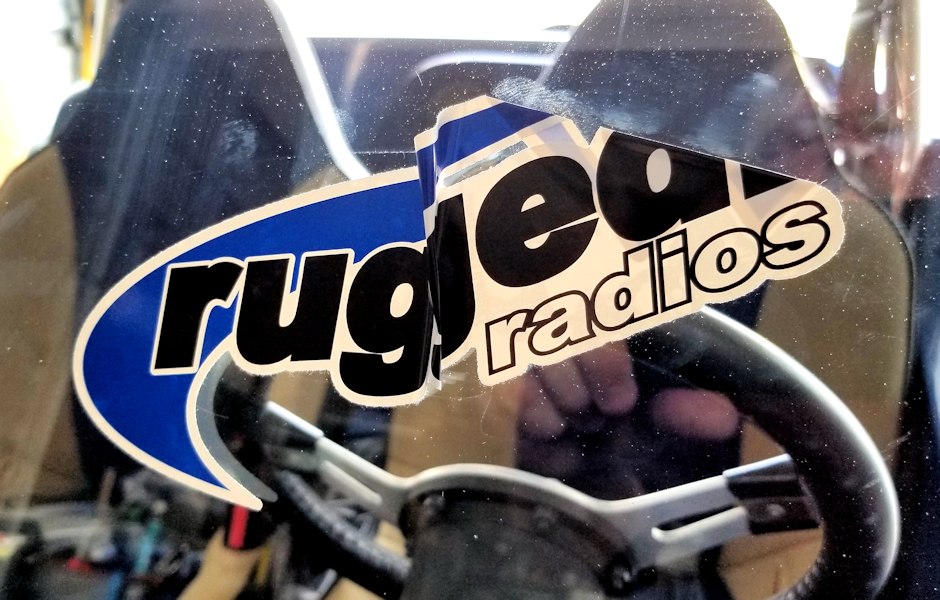
Step Five If you are truly/truly happy with the location of your decal (I mean like really, really REALLY happy), go ahead and push down the sticky surface, from the center while smoothing outwards. Be on the lookout for pesky/trapped bubbles; try your best to work them to the edges and out into thin air. This may be the point of no return, at least for this particular decal! Fold the rest of the decal/backing away from the glass (Photo 7, as shown), and peel back JUST A PORTION of the backing surface. Use finesse (look it up if you need the definition) to SLOWLY and GENTLY continue to pull back the backing surface with one hand, while pushing the decal to the surface with the other (from the center, outward towards the edges). If a bubble and or wrinkle appears, guess what? You may be able to still GENTLY and SLOWLY work the bubble out, or you may be able to pull that portion of the decal back off of the surface, and try again. The smaller increments that you use during this step, the better (at least for the beginners).
Photo 7 - Point of no return? Maybe it is.
Photo 8 - See additional information below.*
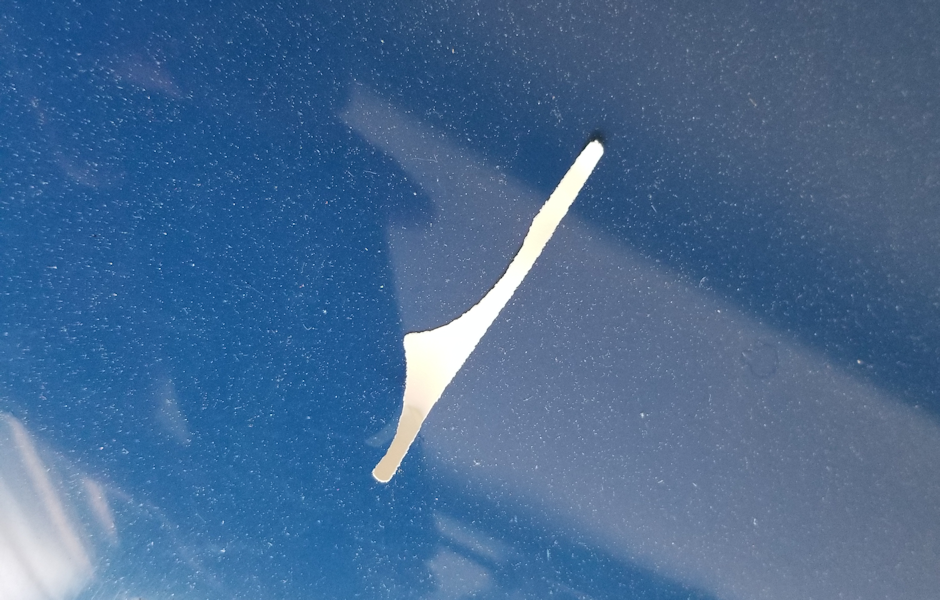
Photo 9 - Leftover cutout; see additional (intermediate/advanced) information above.*
Photo 10 - Coming down the home stretch.
Photo 11 - Finished! Damn; I'm good. Don't you agree?
Photo 12 - Hopefully you will not have to go down this road.
Step Six* - (only applies to more intricate decals and intermediate/advanced decal applicationists). As you can see, the "rugged radios" decal actually has a cutout just above the "e" and the "d" (Photo 8, Photo 9). There are times when you are peeling the backing surface, where this cutout stays put on the backing surface. Other times, this cutout may peel away with the decal itself. Be prepared for this to happen; have a small-thin-pointed tool handy to help clear the offending cutout. DBOBXers, your decals (at least the ones I have seen so far) are not this complicated, so you can all rest easy and ignore this step!
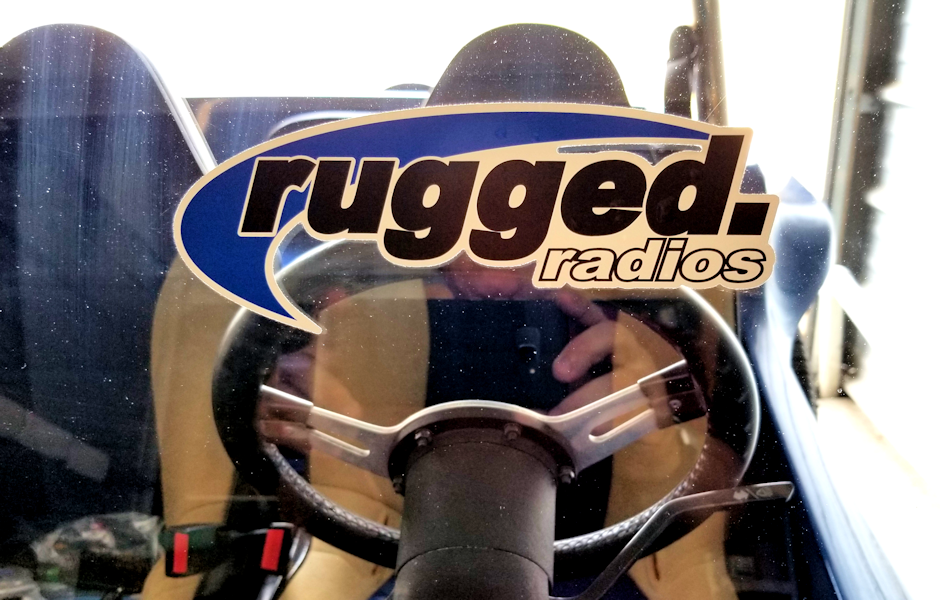
Step Seven - Finish pulling the backing surface away, as you gently smooth the remaining part of the decal down to the glass (Photo 10). Once again, check for air bubbles (see possible solution above). Remove the reference tape, (gently) reclean the glass, and wah-la! Project finished (Photo 11, no flash was used so that a head-on image could be displayed).
Important Notes: Let's say that (for the sake of argument), you did not follow my directions/guidelines, and you ended up with a really huge, big-ass bubble in the center of your decal (after application, obviously). What to do; what to do? Find yourself a really sharp, small pin or needle, and gently pop the bubble. Then, do your absolute best to push the air out of the offending dome; starting at the edges while working your way to the pin hole. Smooth the surface out in the best way that you can.
Always cover your smoothing finger with a clean, soft cloth before pressing down on/smoothing out on the decal.
Once again, DBOBXers; the decal location I chose for this instruction is for demontration purposes only! Do not, I repeat do not, place a decal in this area and leave it there; your driving vision will be severly impaired.
Now if your decal application resembles the unfortunate result shown in Photo 12 above, well; its best to quickly pull it off of the glass before any of your friends/neighbors see how inept you are at this sort of a project. Hopefully, (multiple) replacement decals will be available for future attempts. Reread this information from the beginning, and try-try again (or better yet, get someone else to do it for you). Like they say, "if at first you don't succeed...."
Comments Welcome
Posted July 1, 2019
**For those of you that just could not mentally grasp the whole "off-kilter, actually I took some of these photos (above) at an angle slightly off to one side" deal, I think its best if I post a photo that has been modified using Corel Paint Shop Pro's Perspective Correction Tool. Feel better now?
Where, oh where did I obtain these priceless pearls of wisdom? Honestly, I have no clue and I don't remember; I have been applying decals in this manner since waaaay back in the 70's (that's 40+ in human years).
For those that may find this process too challenging/mind-blowing, I (and/or one of my trained staff/whoever can be found on the street) may be available for appointments, as long as they are scheduled to take place here in southeastern North Carolina (I dont usually make house calls). Click here with your contact information, and Ill follow up with you (and no; pitchforks aimed in my direction will not be allowed on-site; please cut me some slack!).
Shame, shame on those that think I am nothing more than an unemployable maniac. Wait......now that I think about it; I kind of like that description. I think I'll keep it.
Thanks Dave, I do appreciate your comment; I'll start working on the logo.
As Elvis would say; "Thank ya, thank ya vury much." Unfortunately, two decent decals were sacrificed for the sake of this public service/demonstration; was it worth it?
Gary David Holbrook
Attention DBOBXers!